
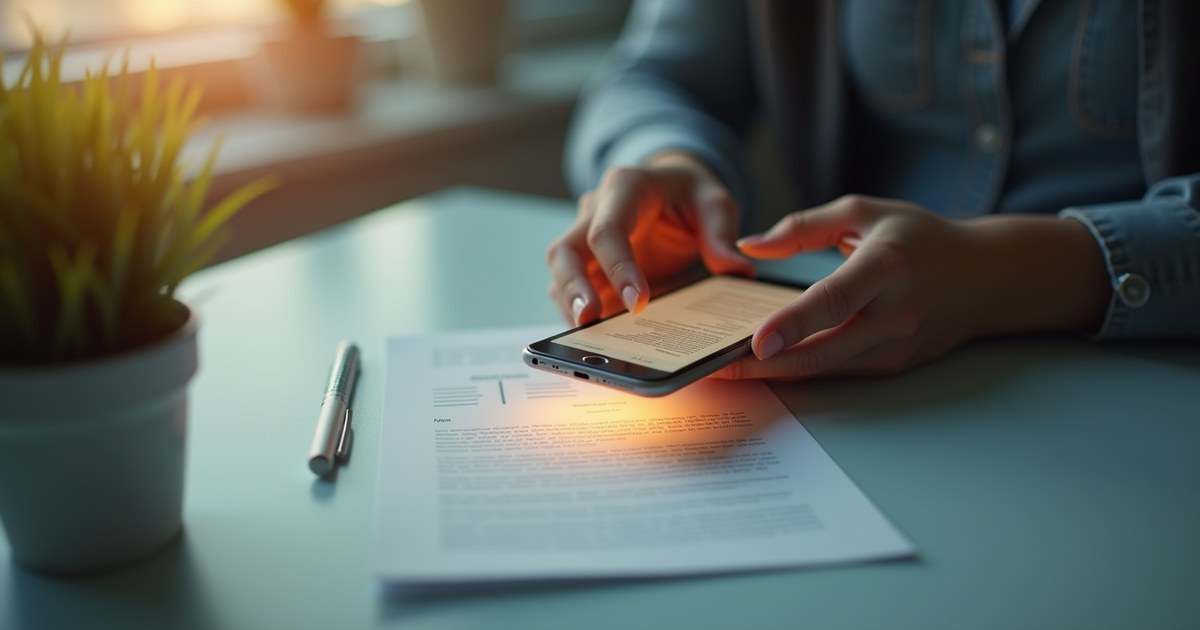
You’ve got a paper document — a signed form, a receipt, a letter — and you need it as a PDF, but you don’t have an actual scanner nearby. This is one of the most common “how do I do this” moments in daily life, and the good news is a phone camera and one free tool handle it completely. Here’s exactly how, plus a couple of honest notes about what this method does and doesn’t do.
What “Scan to PDF” Actually Means Here
There are two genuinely different things people mean by “scan a document to PDF,” and it’s worth being clear about which one this guide covers:
- A real scanner or scanning app (like your phone’s built-in document scanner) that automatically detects the page edges, corrects the perspective so it looks flat and straight, and enhances contrast to make text more readable.
- Just turning a photo of a document into a PDF file, with no automatic edge detection or perspective correction — the photo becomes the PDF page exactly as you took it.
AllMediaTools’ tool does the second one: it takes an image (however you got it — a scan, a plain photo, a screenshot) and wraps it into a PDF page. It doesn’t do the edge-detection and auto-straightening a dedicated scanning app does. That distinction matters for how good your source photo needs to be before you start.
Step 1: Get the Best Photo You Can
Since there’s no automatic cleanup happening after this, getting the photo right upfront makes the biggest difference in how usable the final PDF looks:
- Use even, bright lighting — natural daylight from a window works well; avoid a single overhead lamp that casts a shadow across part of the page.
- Shoot straight-on, not at an angle — hold the phone directly above the document, parallel to the page, rather than off to one side.
- Fill the frame with the page, but make sure all four edges are visible.
- If your phone has a built-in document scanner (the Notes app on iPhone, Google Drive’s scan feature on Android), use it first — it handles the edge detection and straightening automatically, and you can export the result as a JPG to use in the next step. This gets you a much cleaner result than a plain photo, for the same amount of effort.
Step 2: Convert the Photo to a PDF
Once you have a photo — whether it’s a plain shot or the output of your phone’s scanner app — AllMediaTools JPG to PDF Converter turns it into a real PDF file for free, no login required:
- Go to the JPG to PDF Converter page.
- Upload the photo of your document.
- Convert and download — you now have a single-page PDF containing your document.
If your document is more than one page, take a photo of each page and upload them together in the order you want them to appear — each photo becomes its own page in the resulting PDF, in sequence. Combine several photos into one multi-page PDF covers this multi-page case in more detail if that’s what you’re working with.
Step 3: Fix It Up If Needed
A couple of common issues after this kind of conversion, and how to handle them:
- Page came out sideways or upside down — rotate it after converting using AllMediaTools’ PDF rotator, rather than retaking the photo.
- File is larger than expected — a photo taken at full phone-camera resolution can be several megabytes; compress it afterward if you need to email it or keep file size down.
- Perspective is skewed (page looks like a trapezoid, not a rectangle) — this method doesn’t correct for that automatically. Retaking the photo directly above the page, or running it through your phone’s scanner app first, is the fix — there’s no straightening step after the fact here.
What This Doesn’t Do (Being Upfront About It)
This method makes an image-based PDF — the page you see is a picture, not searchable or selectable text. If you need to copy text out of the document, search within it, or have it read aloud by accessibility software, you’d need a separate OCR (optical character recognition) step to extract the text, which isn’t something this workflow includes. For a basic “I have paper, I need a PDF file to send or store” need, this doesn’t matter at all — for anything requiring the text itself to be usable, it’s worth knowing upfront rather than discovering it later. What a PDF actually is goes into the text-vs-image distinction in more depth if you want the full picture.
Frequently Asked Questions
Does this method straighten a crooked photo automatically?
No — this converts whatever photo you upload into a PDF page exactly as it looks, with no automatic edge detection or perspective correction. If the page looks skewed or trapezoidal in the photo, it’ll look that way in the PDF too. Using your phone’s built-in document scanner (which does correct for this) before converting gets a much cleaner result.
Can I make the text in the PDF selectable or searchable?
Not with this method alone. Converting a photo to a PDF this way produces an image-based page — the text is part of the picture, not separate, searchable text data. Making it searchable requires a separate OCR step that isn’t part of this workflow.
How many pages of a document can I convert at once?
As many as you have photos for. Upload them together in the order you want them to appear, and each one becomes its own page in a single PDF — this works the same for a 2-page letter or a 20-page packet.
Do I need a scanner app, or does a regular camera photo work?
A regular photo works fine for a basic result — it’ll just have whatever lighting, angle, and framing the photo itself has. A dedicated scanner app (built into most phones’ Notes or Drive apps) produces a cleaner, straighter result because it handles edge detection and perspective correction before you ever get to this step.
Will the file be too large to email?
It can be, especially with several full-resolution phone photos combined into one PDF. Compress it afterward if the file needs to fit an email attachment limit — this typically shrinks a photo-based PDF significantly without making the text unreadable.
Is this the same as using a physical scanner?
Functionally, close enough for most purposes — you end up with a PDF either way. A physical scanner or scanning app generally produces a flatter, more evenly lit result since it’s built specifically for capturing documents, while a plain phone photo depends entirely on your lighting and camera angle.